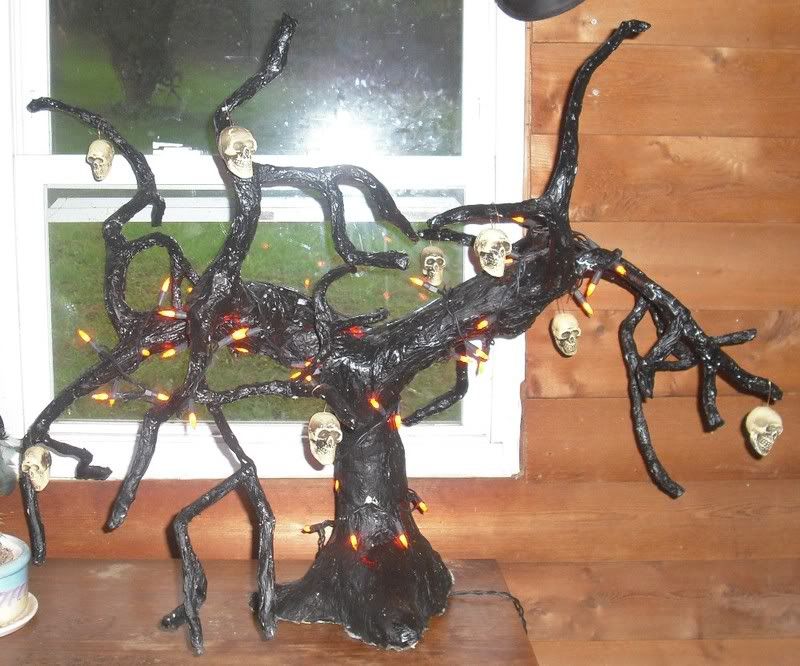
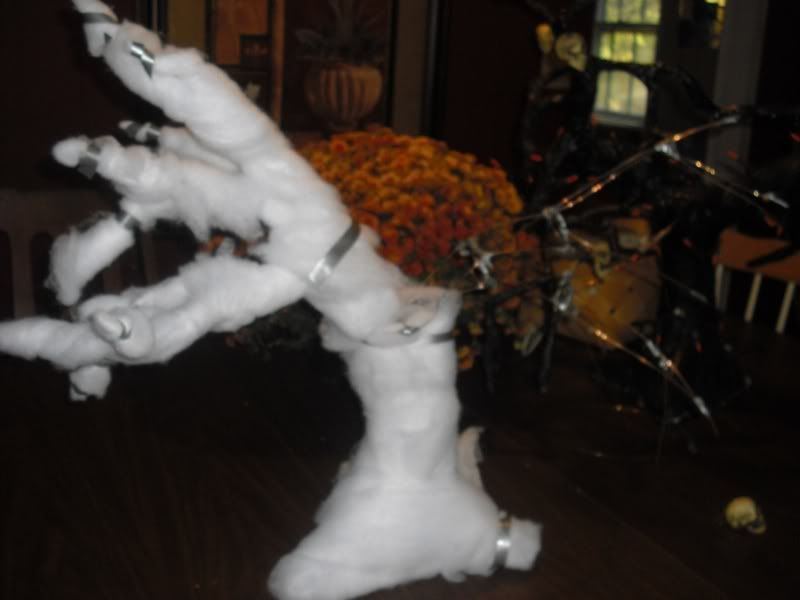
Finished product:
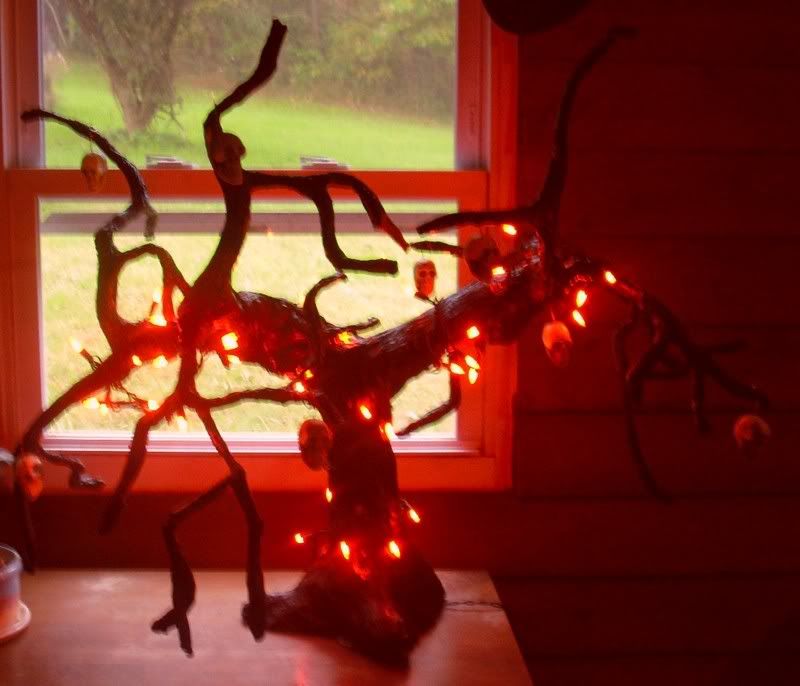
Lit
Tutorial:
Here is the best tutorial I could create. It's not my specialty by far, which is why I posted lots of pics. The pics seem to be cut in half, I believe you can just click on them to see them full sized.:
Just like most tutorials I really don't think you need to follow the instructions exactly. If you wanted to make it much bigger you could use wood or pvc for the skeleton of the tree. Use what methods work for you. This is just to give a concept of my creation...
MATERIALS NEEDED:
I made my original tree trunk from coat hanger wire and the branches of .045 gauge wire. You could use all coat hangers or buy some wire from a hardware store. I'm a fan of using what I have around the house.
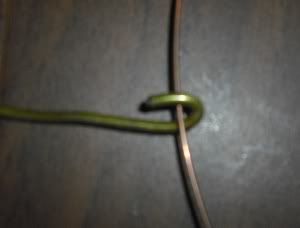
I used duct tape. You could use whatever you have on hand. This project uses alot of tape so whichever you choose make sure you have plenty. This picture illustrated how I conserved my tape:

I used thick quilt type batting. Once again I had it on hand. It took about a quarter of a yard to wrap the whole thing. I think you could use newspaper, paper towels, fabric or anything you can think of. The purpose is to build the wire out and make it look not-so-wiry.
I just mix flour and water and call that papier mache but I'm sure there's a more professional way to do it. You can look that up online. I used paper towels as my material to dip in the mache. I think newspaper would make it harder and maybe more stable.
Black craft paint was good enough for my tree.
I used skulls from the "everything's a dollar" store and cheap orange lights from big lots. You could decorate with whatever you want.
INSTRUCTIONS:
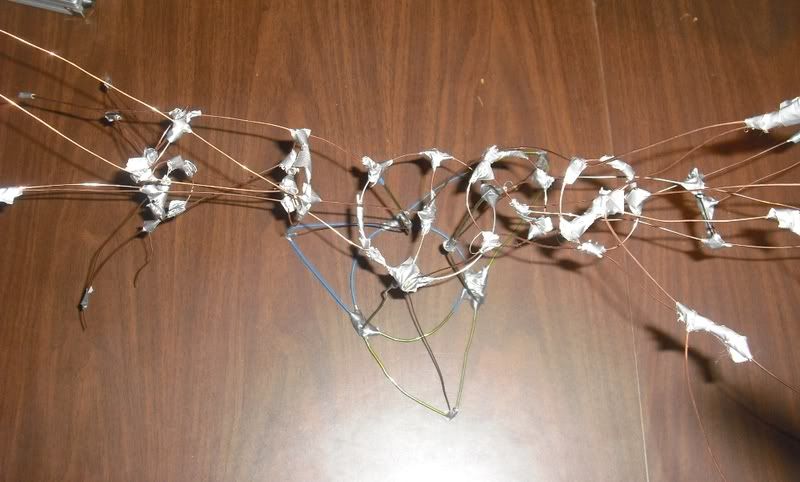
The first step is to make a skeleton for the tree out of wire. A basic Y shape is what I used. I found it important to make the base and trunk out of coat hanger wire to give the tree stability. Rings also help to stabilize the tree and they give your trunk and branches the proper shape. It's also important to attach a modified diamond or triangle shape at the base, that creates the roots and helps to balance the tree. I used loops and lots of tape to attach the wire to the rings and anywhere else. The branches on each side should also be balanced. If the branches are balanced your tree will not fall over once complete. You can tell when they are balanced because the tree will stand on it's own. The best part about making a tree is that nature is not perfect and that allows you to attach however many branches you want and allows for your branches to be shaped however you want. Random is better. Below are plenty of pictures to help illustrate how the skeleton is made.:
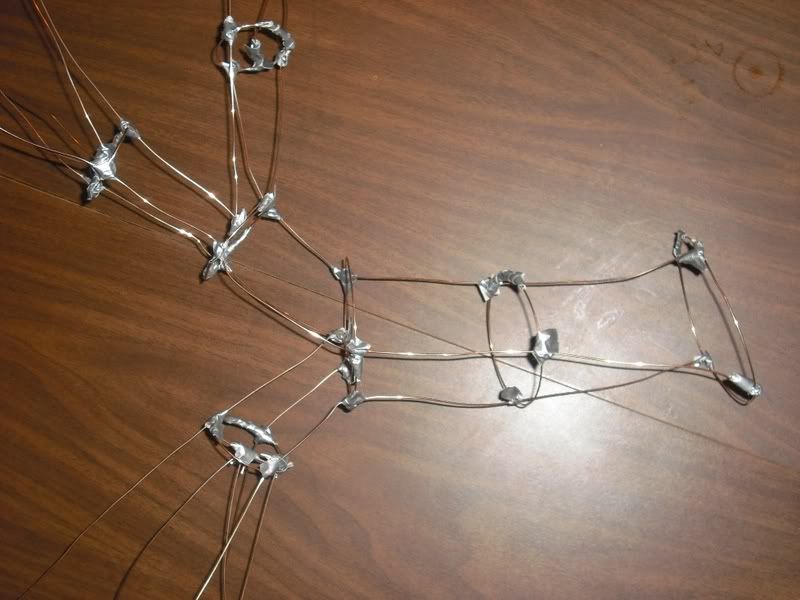
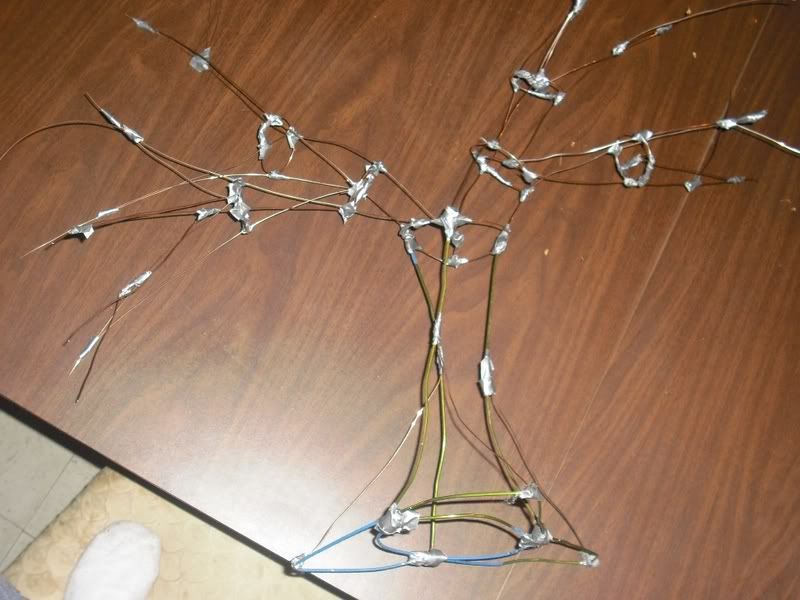
View from the bottom
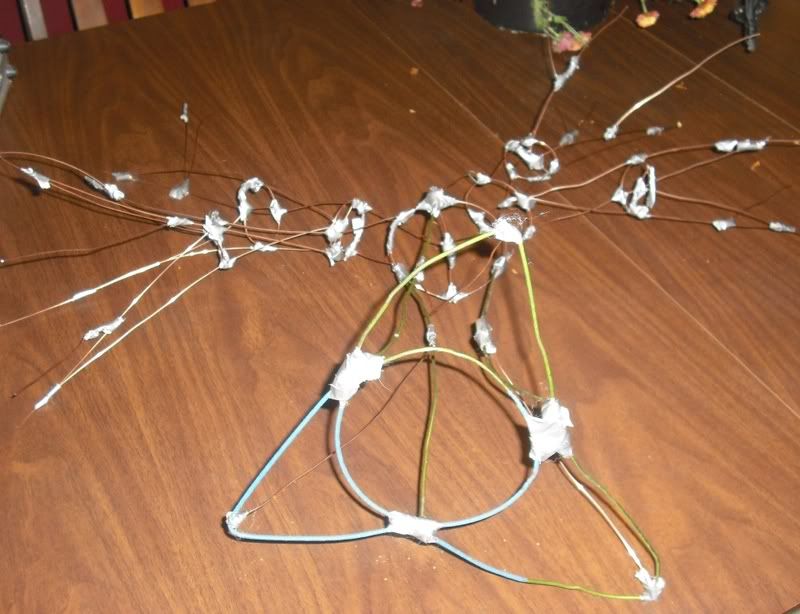
View from the top
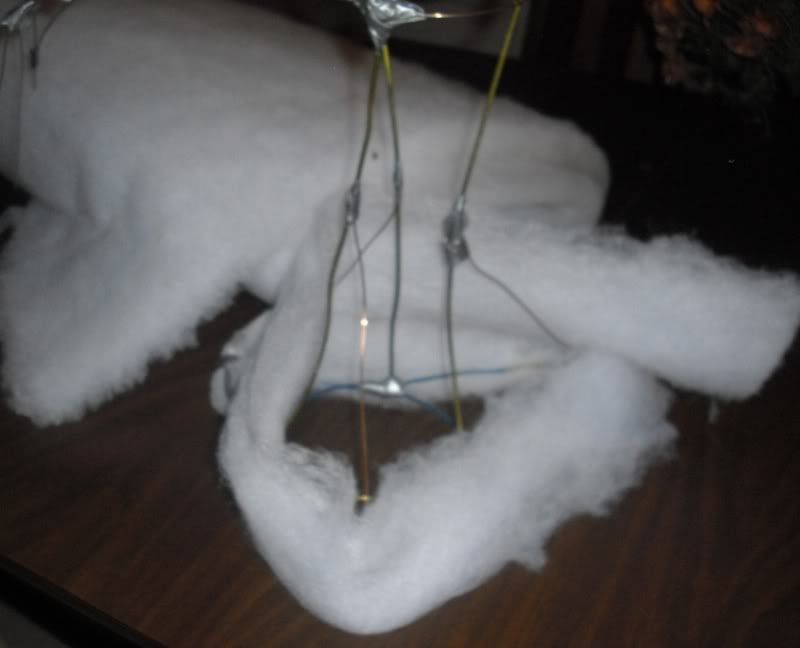
At this point the tree looks puny but trust me the next couple steps will give it more weight and presence. I now wrap the entire tree in batting. Thin strips are easy to work with. Using tape to secure it.
I then wrapped the entire thing in tape. This made it less fluffy and really gave me the size and shape I wanted. In the picture below you see the tape stage is complete and it is at the beginning of the mache stage.
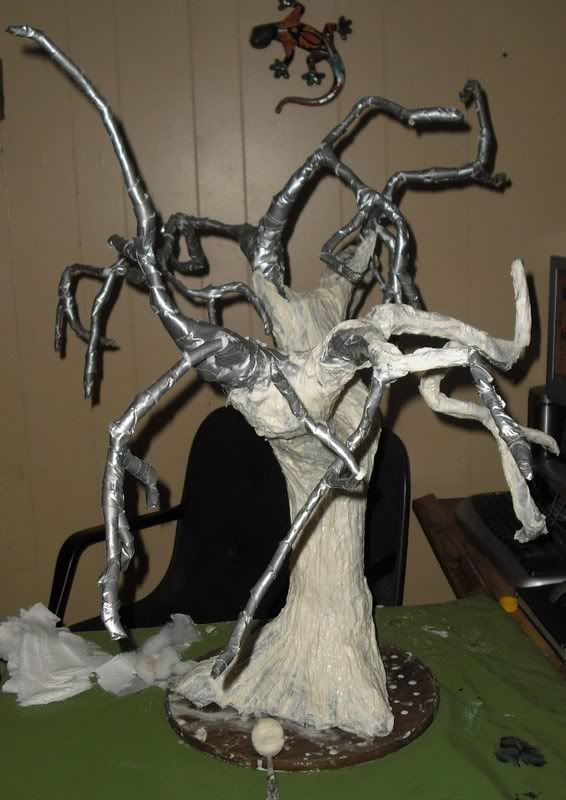
Next you want to bend all of your branches how you want them to be permanently. One thing to keep in mind is that the papier mache will weigh the branches down, I found this out the hard way. So you want to pose your branches higher than you want them to be. You could even paint it and decorate it now and call it finished, then the branches could be posed differently year after year.
Next I applied the papier mache, very messy. The reason I chose to add papier mache was that it gave the tree texture and made it look more realistic to me. I was sure to apply my strips in the direction that bark would normally appear. It also helps to alternate sides in order to prevent the tree from falling over. I was able to do most of one side before I had to go to the other. You'll see the tree start to lean that's when you want to switch it up. Coat the whole thing. Now comes the part that takes a while. Let the mache dry.
Then paint and decorate and the best part.... enjoy!! Or do what I did and make more of them for friends and family.
If you make one I'd love to see pics of it and I'd be happy to answer any questions you may have.